Boost Your Apple Security with Physical Security Keys: Here’s How It Works
Apple has been working tirelessly to tighten the security of its devices. The latest update, iOS 16.3, iPadOS 16.3, and macOS Ventura 13.2, includes support for physical security keys. Essentially, these keys can verify your Apple ID login in place of a passcode, making your security tighter than ever. In this article, we’ll go through how it works and how you can start using security keys with your Apple ID.
How Physical Security Keys Work The physical security keys work in conjunction with two-factor authentication (2FA), which means that you still need to input your password. If you already have 2FA set up, you’re familiar with logging in to a new Apple device using your email and password, followed by a six-digit code sent via SMS or to another device that you’re already logged in on. The security key replaces the second step, the passcode.
The idea behind the security key is that having something physical that stays with you is much more secure than a passcode that can be guessed or brute-forced. Scammers can easily trick you into revealing a six-digit number, but getting you to hand over a physical object is much harder. Apple claims that the security key provides “extra protection from targeted attacks, such as phishing or social engineering scams.”
Enabling Security Keys on Your Apple ID If you want to start using security keys with your Apple ID, you first need to enable 2FA. If you haven’t already done so, open Settings on your iPhone, tap on your name at the top, followed by Password & Security, and Turn On Two-Factor Authentication. Follow the instructions for setting up a phone number to receive SMS messages and specify any other trusted devices you want to use.
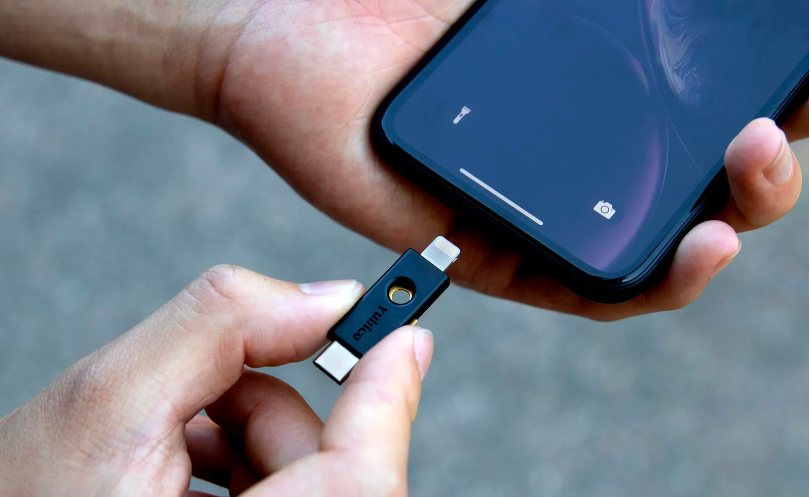
Setting Up Security Keys To set up security keys, you first need to buy a couple of security keys that are certified to work with the FIDO standard and have the right connections for your devices: NFC (iPhones) only, lightning, USB-C, or USB-A. You can purchase them online for around $50 each.
With your physical keys in hand and the latest software updates installed, you can set everything up from an iPhone or an iPad by going to Settings, tapping on your name at the top, and choosing Password & Security. Choose Add Security Keys to be directed through the process of associating them with your Apple ID. At the same time, you can review all the devices that are currently linked to your Apple ID.
On macOS, make sure you’re running the latest software, then open the Apple menu and choose System Settings. Click on your name at the top of the navigation pane on the left, then pick Password & Security and click Add next to the Security Keys heading. You’ll then be taken through the steps needed to associate your keys with your account, and you’ll be shown the devices you’re already using with your Apple ID.
You need to add at least two security keys to your account, as you can add up to six. If you want to remove one or more of your security keys, head to the same screens on iOS, iPadOS, or macOS, and select the Remove All Security Keys option. If you choose this option, the two-factor authentication process will revert to using the passcode method as it did before.
Conclusion Using physical security keys can add an extra layer of security to your Apple ID and boost your protection against targeted attacks. While it may take a bit of effort to set up, the added security is well worth it. Follow the instructions in this article to enable security keys on your Apple ID and rest assured that your information is safer than ever before.
Signup for your 750-dollar PayPal gift card HERE!